semtax의 개발 일지
스프링부트로 게시판 만들기 8 : 권한 체크 본문
개요
이번 포스팅에서는, 지난 시간에 구현한 내용들을 기반으로 글을 쓴 사용자/댓글을 단 사용자만 글을 수정, 삭제 할 수 있게 하는 기능을 구현해보도록 하겠다.
Authorization?
먼저 기능 구현에 앞서서, Authorization이 무엇인지 알아보도록 해보자.
역시나, 위키피디아의 정의를 찾아보면 아래와 같다.
Authorization is the function of specifying access rights/privileges to resources, which is related to information security and computer security in general and to access control in particular.[1] More formally, "to authorize" is to define an access policy
요약하면, 허용된 사용자에게만 자원에 접근/수정할 권한을 준다는 의미이다.
즉, 우리가 하려는 일이 결국 글을 쓴 사용자/댓글을 단 사용자만 글을 수정, 삭제를 할 수 있게 하는 것이므로 본질적으로는, Authorization 기능을 구현하는 것과 동일 하다.
그럼 이제 실제로 구현을 해보도록 하자.
구현
일단, 실제 코드를 작성하기 전에, 코드 작성할 내용을 간단하게 정리해보자.
대략적으로 아래와 같은 과정을 코드로 작성하면 된다.
- 로그인한 사용자의 세션에서 ID 값을 꺼내옴
- 세션에서 꺼낸 ID와 글쓴이를 비교
- 같은 경우 접근을 허용
- 같지 않은 경우, 권한이 없다는 메시지를 보내고 접근을 거부
그럼 이제 실제로 코드를 작성해보자.
먼저 게시글에 대한 Authorization을 수행하는 인터셉터를 만들어 준다.
@Component
public class PostAuthInterceptor implements HandlerInterceptor {

    @Autowired
    PostRepository postRepository;

    @Override
    public boolean preHandle(HttpServletRequest request, HttpServletResponse response, Object handler) throws Exception {

        String httpMethod = request.getMethod();

        if(httpMethod.equals("POST") || httpMethod.equals("DELETE")) {
            String sessionItem = (String)request.getSession().getAttribute(Sessions.SESSION_ID);
            Map<?, ?> pathVariables = (Map<?, ?>) request.getAttribute(HandlerMapping.URI_TEMPLATE_VARIABLES_ATTRIBUTE);
            Long id = Long.parseLong((String)pathVariables.get("id"));

            Post post = postRepository.findById(id).get();
            String postWriter = post.getCreatedBy();

            if(!postWriter.equals(sessionItem)){
                response.getOutputStream().println("NOT AUTHORIZE!!");
                return false;
            }
        }

        return true;
    }

    @Override
    public void postHandle(HttpServletRequest request, HttpServletResponse response, Object handler, ModelAndView modelAndView) throws Exception {

    }

    @Override
    public void afterCompletion(HttpServletRequest request, HttpServletResponse response, Object handler, Exception ex) throws Exception {

    }
}
다음으로, 댓글에 대한 Authorization을 수행하는 인터셉터를 만들어 준다.
@Component
public class CommentAuthInterceptor implements HandlerInterceptor {

    @Autowired
    CommentRepository commentRepository;

    @Override
    public boolean preHandle(HttpServletRequest request, HttpServletResponse response, Object handler) throws Exception {

        String httpMethod = request.getMethod();

        if(httpMethod.equals("POST") || httpMethod.equals("DELETE")) {
            String sessionItem = (String)request.getSession().getAttribute(Sessions.SESSION_ID);
            Map<?, ?> pathVariables = (Map<?, ?>) request.getAttribute(HandlerMapping.URI_TEMPLATE_VARIABLES_ATTRIBUTE);
            Long id = Long.parseLong((String)pathVariables.get("id"));

            Comment comment = commentRepository.findById(id).get();
            String commentWriter = comment.getCreatedBy();

            if(!commentWriter.equals(sessionItem)){
                response.getOutputStream().println("NOT AUTHORIZE!!");
                return false;
            }
        }

        return true;
    }

    @Override
    public void postHandle(HttpServletRequest request, HttpServletResponse response, Object handler, ModelAndView modelAndView) throws Exception {

    }

    @Override
    public void afterCompletion(HttpServletRequest request, HttpServletResponse response, Object handler, Exception ex) throws Exception {

    }
}
그런 뒤, 아래 코드와 같이 위에서 만든 인터셉터들을 등록 해준다.
@Configuration
public class WebserviceConfig implements WebMvcConfigurer {

    @Autowired
    LoginInterceptor loginInterceptor;

    @Autowired
    PostAuthInterceptor postAuthInterceptor;

    @Autowired
    CommentAuthInterceptor commentAuthInterceptor;

    @Override
    public void addInterceptors(InterceptorRegistry registry) {
        registry.addInterceptor(loginInterceptor)
                .excludePathPatterns("/post/page")
                .addPathPatterns("/post/**")
                .addPathPatterns("/comment/**");

        registry.addInterceptor(postAuthInterceptor)
                .excludePathPatterns("/post/page")
                .excludePathPatterns("/post/**/comment/**")
                .addPathPatterns("/post/**");

        registry.addInterceptor(commentAuthInterceptor)
                .addPathPatterns("/post/**/comment/**");
    }
}
이때, 게시글 생성은 로그인한 모든 유저가 할 수 있어야 하므로, 저런 식으로 인터셉터에서 예외처리를 해준다.
그럼 이제 테스트를 해보도록 하자.
테스트
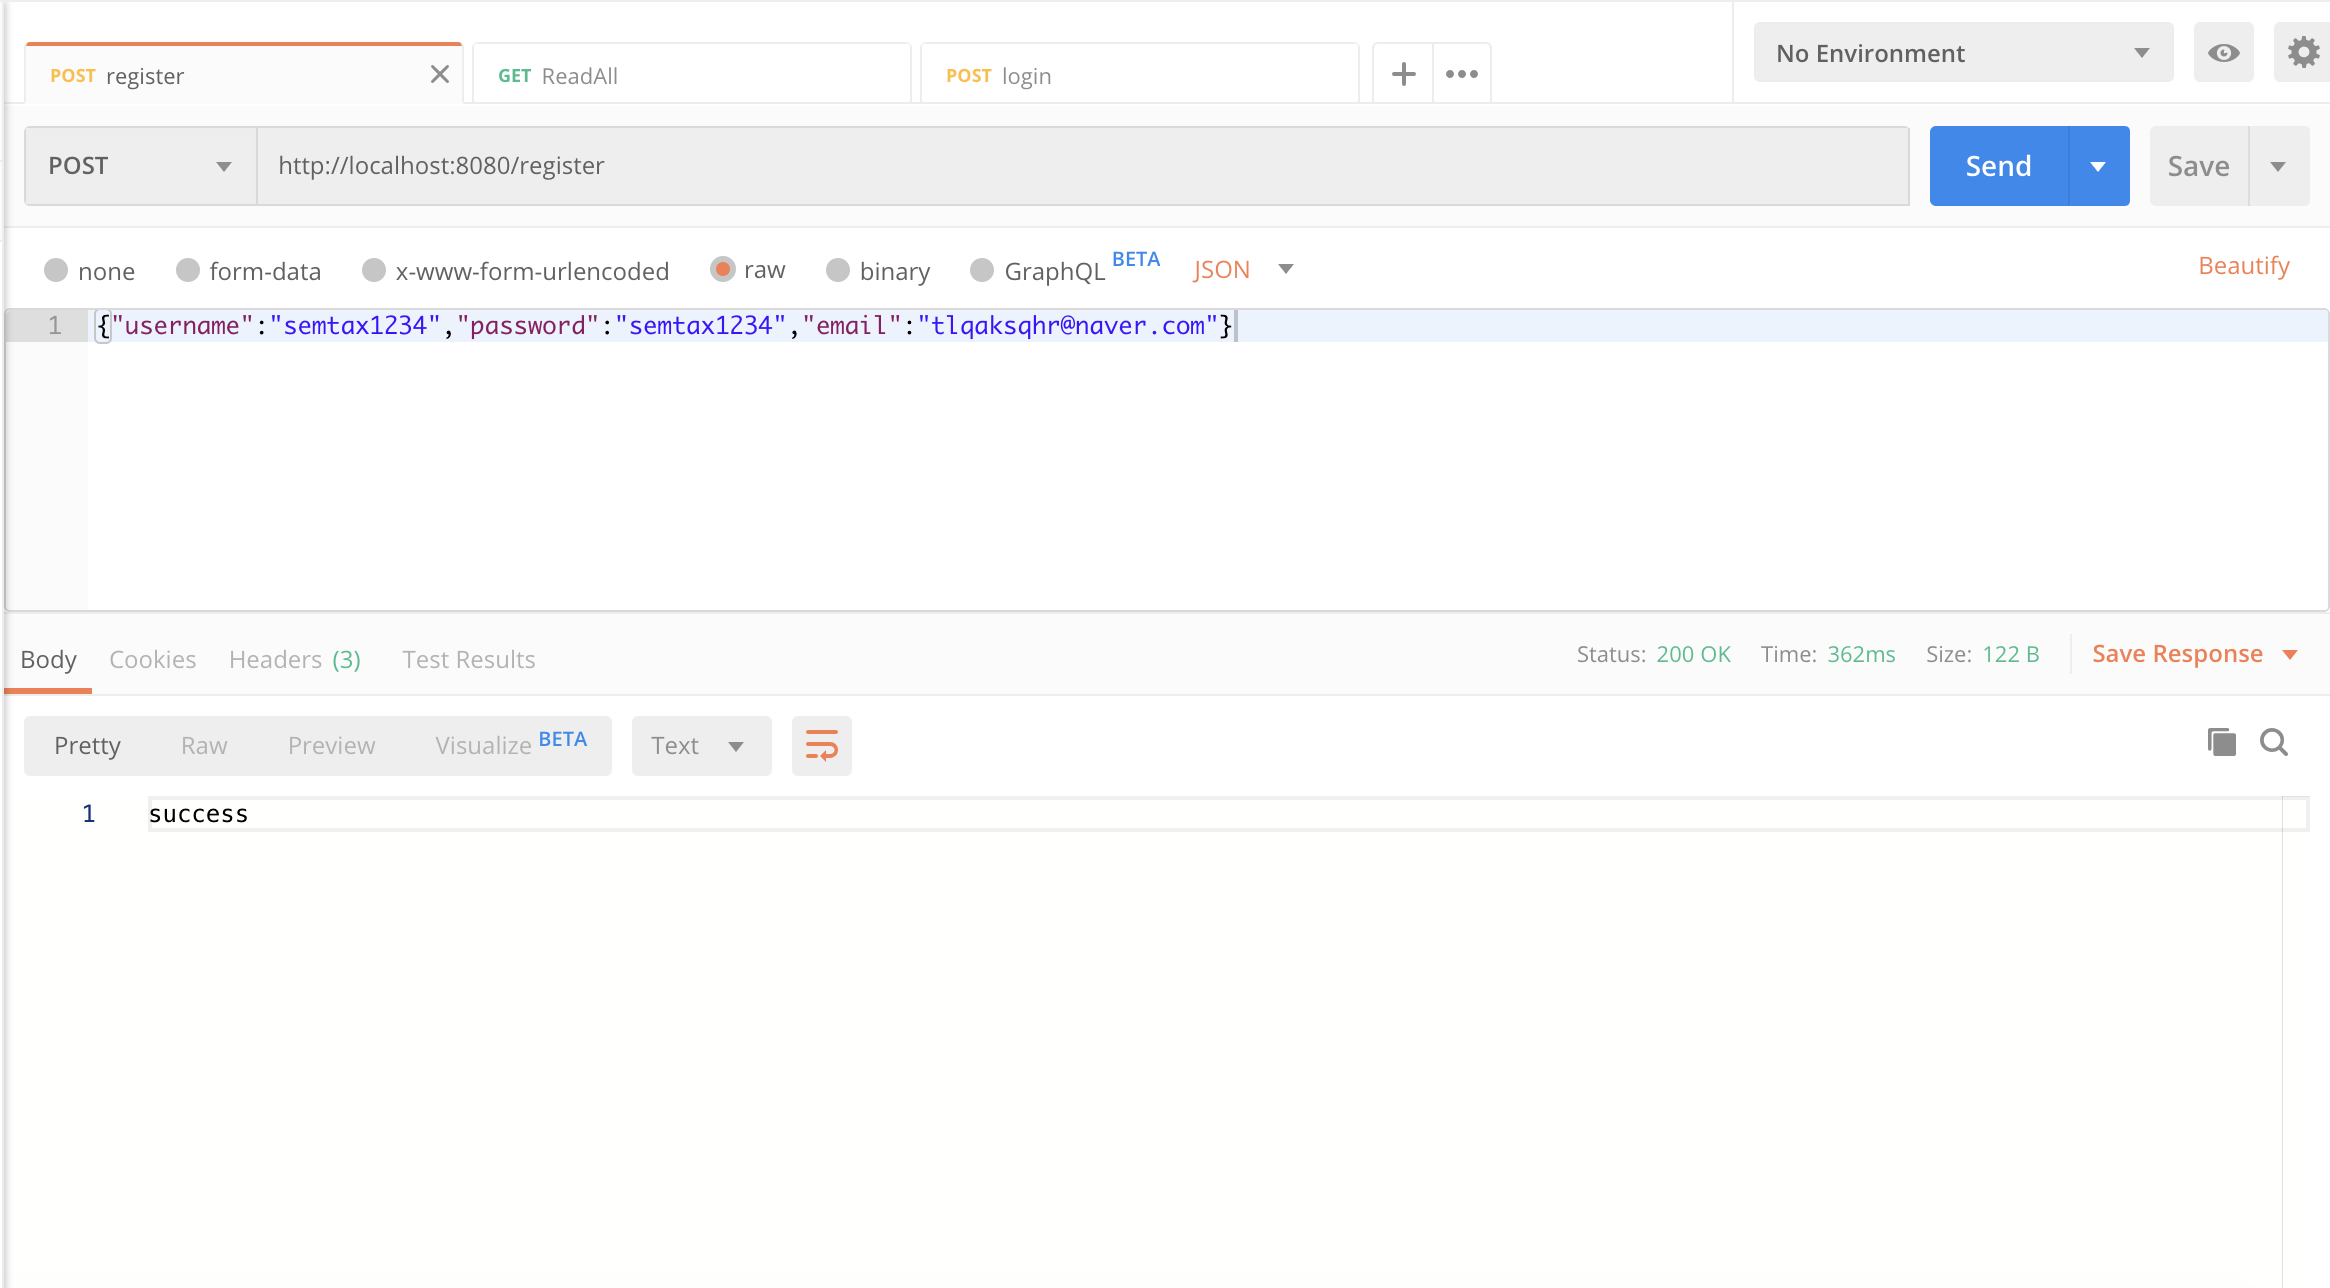
포스트맨(Postman)을 켜서 먼저 회원가입으로 계정을 생성한다.

그런 뒤, 로그인 요청을 날려서 세션값을 받아온 뒤, 게시글을 각각 생성해보자.

그리고 나서, 아래와 같이 게시글 을 수정 하는 API에 요청을 해보자.

정상적으로 되는 것을 확인 할 수 있다.
다음으로, 다른 계정을 생성하고, 로그인 요청을 날려서 세션값을 받아온 뒤 첫번째로 만들었던 게시글에 수정 요청을 날려보자.

접근이 거부되는것을 확인 할 수 있다.
결론
이번 시간에는 접근 제어(권한 체크) 기능을 만들어 보았다.
해당 포스팅을 조금만 응용하면, 관리자 권한도 구현이 가능하다.
다음 시간에는, 페이징 기능을 구현해보도록 하겠다.
'개발 > Java' 카테고리의 다른 글
| 스프링부트로 게시판 만들기 10 : 검색기능 추가 (0) | 2020.05.01 |
|---|---|
| 스프링부트로 게시판 만들기 9 : 페이징 기능 구현 (2) | 2020.05.01 |
| 스프링부트로 게시판 만들기 7 : 데이터 Auditing (0) | 2020.05.01 |
| 스프링부트로 게시판 만들기 6 : 로그인 기능 추가 (4) | 2020.05.01 |
| 스프링부트로 게시판 만들기 5 : 회원가입 기능 추가 (0) | 2020.05.01 |


